How To Create a Stunning Cornrow and Braids Wig: A Step-by-Step Tutorial
Partager
Are you looking to elevate your hairstyle game with a beautiful cornrow and braids wig? Look no further! In this comprehensive tutorial, we'll guide you through the process of creating a stunning, customized wig that will have everyone admiring your hair.
Salon Hair Care, a trusted name in the beauty industry, is here to share our expertise and help you achieve the perfect cornrow and braids wig. Whether you're a seasoned wig-wearer or a newcomer to the world of hair transformations, this step-by-step guide will ensure you end up with a wig that looks and feels incredible.
Gathering the Necessary Supplies
Before we dive into the tutorial, let's make sure you have all the essential supplies on hand:
- High-quality wig base (lace front or full lace)
- Synthetic or human hair extensions in your desired color and texture
- Cornrow braiding hair (optional)
- Wig cap
- Wig glue or adhesive
- Scissors
- Comb and brush
- Hairpins or clips
- Styling products (e.g., edge control, hairspray)
With these items ready, you'll be well on your way to creating your dream wig.
Step 1: Prepare the Wig Base
Begin by securing the wig cap onto your head, ensuring a snug and comfortable fit. If you're using a lace front wig, carefully cut the lace around the hairline, leaving a small amount to blend seamlessly with your skin.
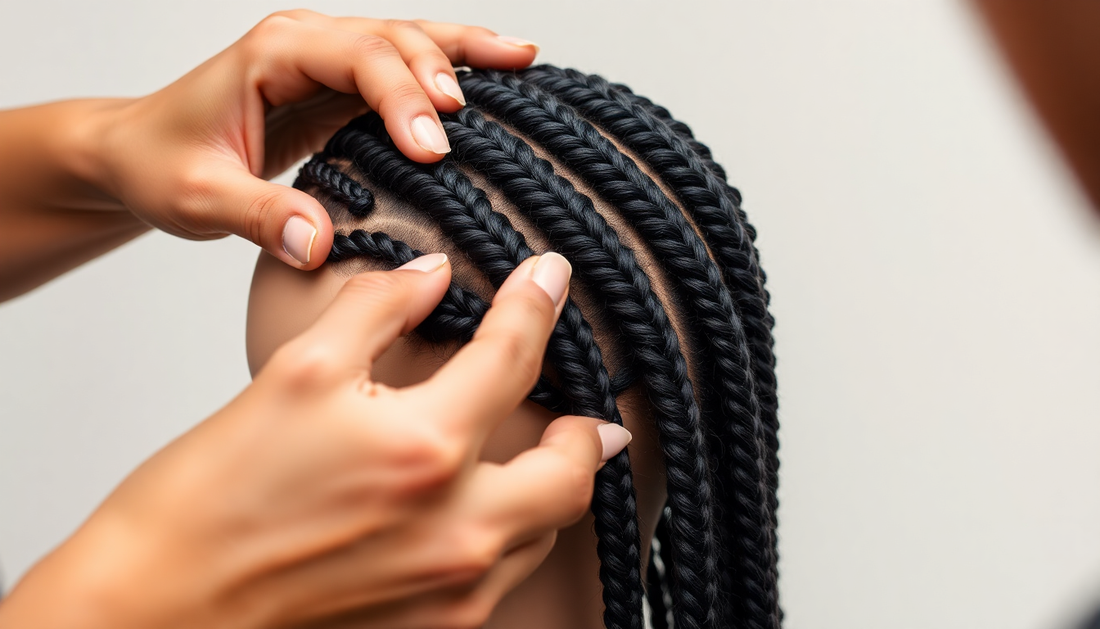
Step 2: Cornrow the Wig Base
Using your comb, section the wig into small, even parts, then braid each section into tight cornrows. Make sure the braids are secure and lie flat against the wig base.
Step 3: Attach the Hair Extensions
Now, it's time to add the hair extensions. Carefully take a small section of the cornrow and apply a small amount of wig glue or adhesive. Gently press the hair extension into the glue, ensuring a secure hold.
Repeat this process, working your way around the entire wig, until all the cornrows are covered with the extensions. Be mindful of the direction and placement of the braids to create a seamless, natural-looking result.
Step 4: Style the Wig
Once the hair extensions are in place, it's time to style your wig. Use a comb and your fingers to gently separate and fluff the braids, creating the desired volume and texture.
If you want to add extra flair, consider incorporating additional braiding techniques, such as box braids or Senegalese twists, into the wig. This will add depth and dimension to your hairstyle.
Finish the look by applying a small amount of edge control or hairspray to tame any flyaways and ensure your wig stays in place throughout the day.
Step 5: Customize and Maintain
Your cornrow and braids wig is now ready to wear! Remember to properly care for your wig by gently washing it with a sulfate-free shampoo and conditioning it regularly. With proper maintenance, your wig can last for months, allowing you to enjoy your stunning new look.
We hope this step-by-step tutorial has inspired you to create your own customized cornrow and braids wig. At Salon Hair Care, we're dedicated to providing our clients with the tools and knowledge to achieve their dream hairstyles. If you have any further questions or need additional guidance, don't hesitate to reach out to our team of hair experts.
Get ready to turn heads and feel confident in your new, one-of-a-kind wig creation!